Scrunchie Tutorial With Hair Tie
With a piece of scrap fabric & a hair tie, you can make your own personal scrunchies at home with this easy scrunchie tutorial! Scrunchies are back in style and are a fun way to use up leftover fabrics you have laying around.

This page contains affiliate links, which means I make a small commission at no extra cost to you. See full disclosure here.
Make Your Own Scrunchie
Wearing a scrunchie (sometimes spelled scrunchy) used to be a huge fashion statement & now they’re coming back in style. Instead of buying them from the store for a few dollars each, you can make your own with the scrap fabrics you have laying around the house.
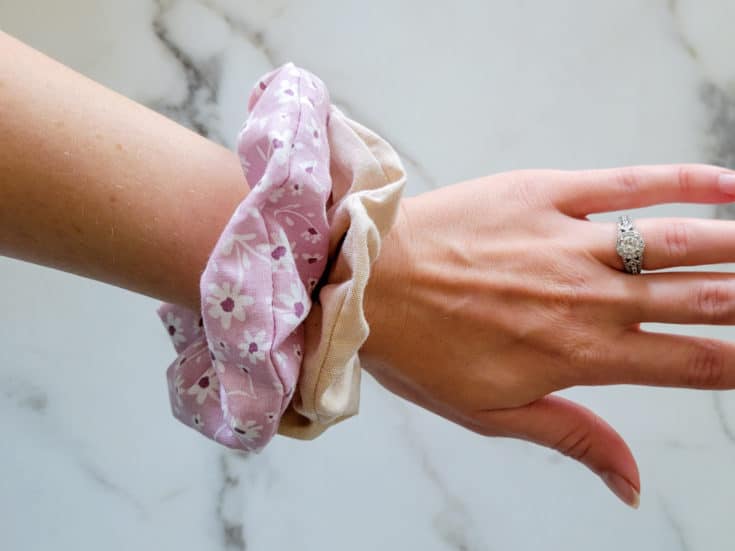
I used the sleeve of a linen button up shirt & a scrap of cotton fabric to make the scrunchies shown above. You can really use any fabric you have on hand that can easily be sewn together with a straight stitch.
If you don’t feel like sewing, use a little fabric glue to get the same results!
Tools Needed
For this project, it’s easiest to use a sewing machine. I have a basic beginner Brother sewing machine that works great and is easy to use.
Along with the sewing machine, it’s best to have a good fabric cutter and cutting mat. I LOVE this sewing cutting board kit that I purchased when I got back into sewing, because it comes with extra blades and sewing clips. It’s a great product for beginners like me.
Recap Tools:
- Sewing Machine *optional
- Needle & thread
- Cutting Mat & Fabric Cutter
- Sewing Clips or Pins
You’ll also need the materials for the scrunchie:
- 1 Elastic hair tie
- 20″x4.5″ Fabric (any blend you want to use)
How To Sew A Scrunchie
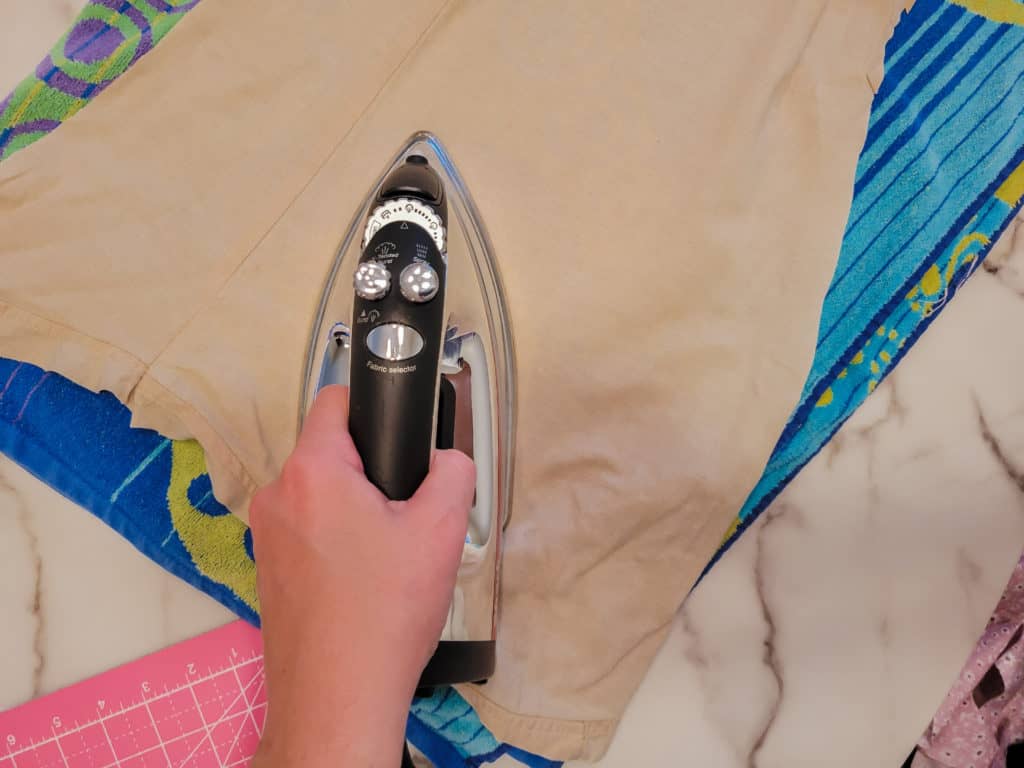
1. Iron Fabric
You always want to iron your fabric while sewing to help the edges cut and line up smoothly. For a scrunchie, you can use any fabric you have on hand. I’m using a cotton linen fabric because I have some scraps from the sleeve of a shirt.
2. Cut Fabric
You have options when cutting the size of the fabric for this scrunchie tutorial. I like to cut my scrunchie fabric 20″ x 4.5″ so they have a bit more body to them.
If you’re making a thinner scrunchie or one for a child, you should cut it 17″ x 3.5.”
You can cut your scrunchies anywhere between 17″-20″ for the length & 3″-5″ for the width. See the difference below.
The less length you have, the more “scrunch” it will have. The more width you have, the more body your scrunchie will have.


3. Wrap Fabric Around Hair Tie
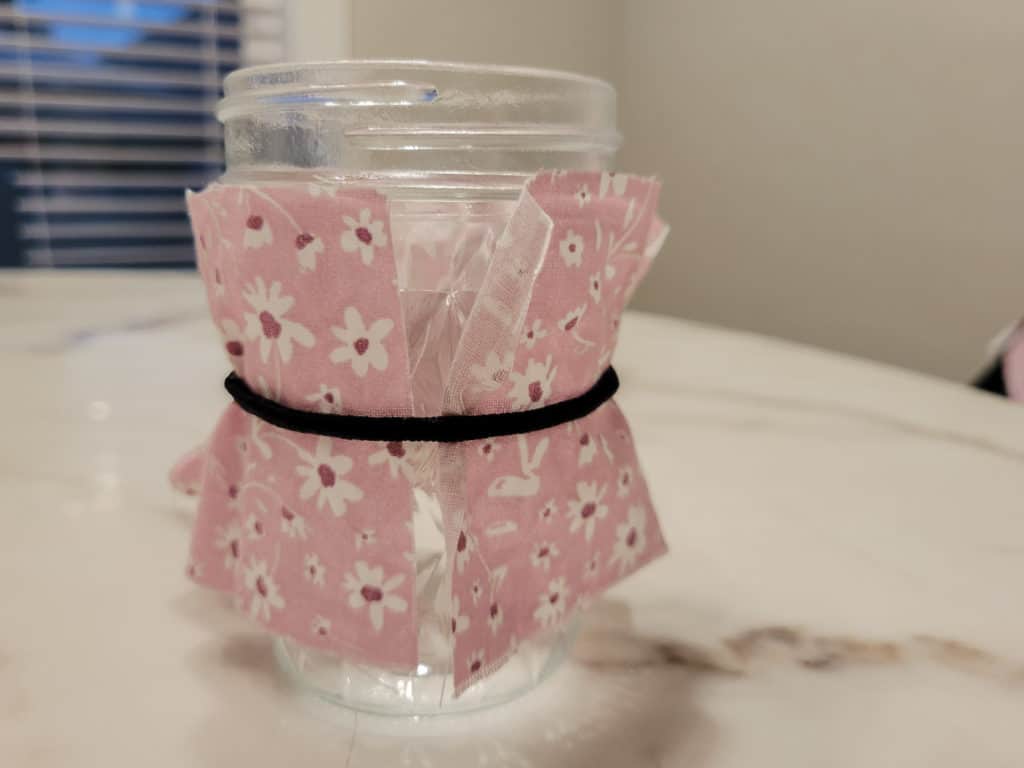
The easiest way to wrap the fabric around the ponytail hair tie is with a jar or cup.
You need to scrunch the fabric a bit and then place the ponytail around it with the right side of the fabric facing the ponytail holder. (See Below)

4. Pin the Fabric
I prefer using sewing clips to hold my edges together. It’s much easier when working with a smaller amount of fabric like a scrunchie. You can use pins if you need to.
Fold the fabric hotdog style around the rubber band and clip the edges together. Make sure the edges are perfectly lined up. You’ll have to do some stretching and shifting of the scrunched fabric to get it lined up correctly.

5. Straight Stitch The Edges
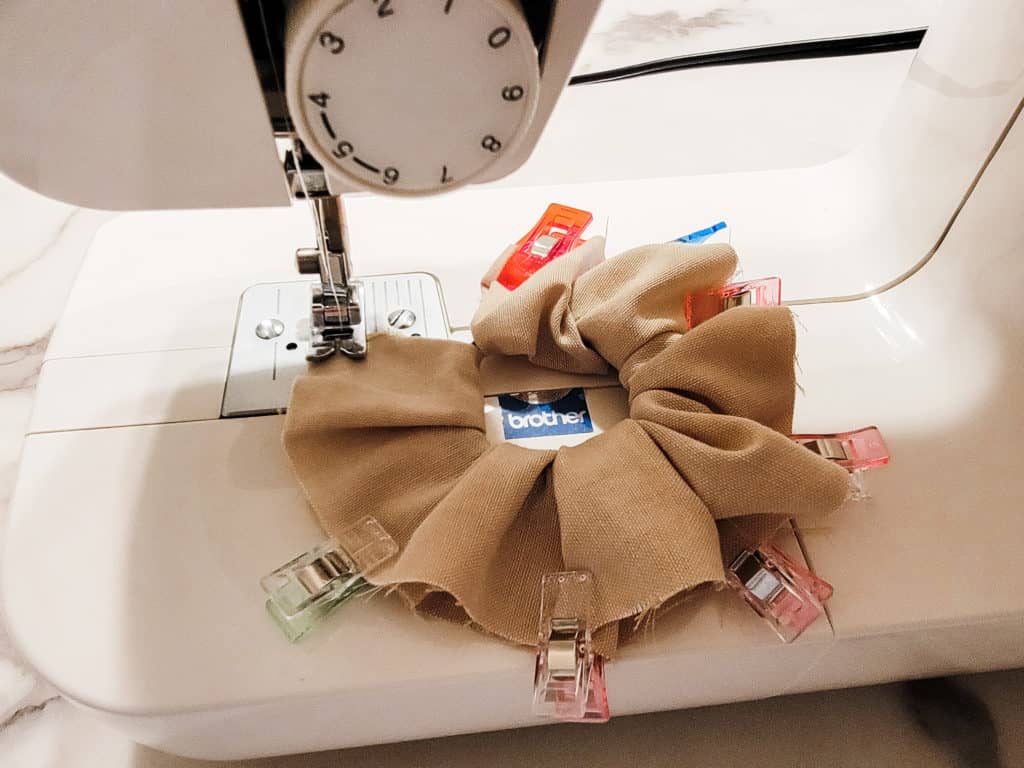
It’s easiest to use a sewing machine for this part, but you can hand stitch if you prefer. You’re going to do a straight stitch along the edges that you clipped together. Don’t forget to backstitch when you start and stop!
Make sure to sew the edges together so they line up correctly. You’ll need to stretch the fabric out as you sew it.
Leave the openings unstitched because you’ll want to turn the fabric right side out later.

6. Flip Scrunchie Material Right Side Out
Start at one opening of your fabric and fold it over itself. Keep work the fabric over itself until you have flipped it completely right side out.
This takes some patience. You can use something long and pointy like a chopstick or a ballpoint pen to help shove the fabric through the opening.

7. Fold Openings Inward
For a clean look, you’re going to fold both openings inside themselves about 1/8th inch. This doesn’t have to be exact, just make sure both openings have a clean edge from being folded into themselves.

8. Sew Openings Together
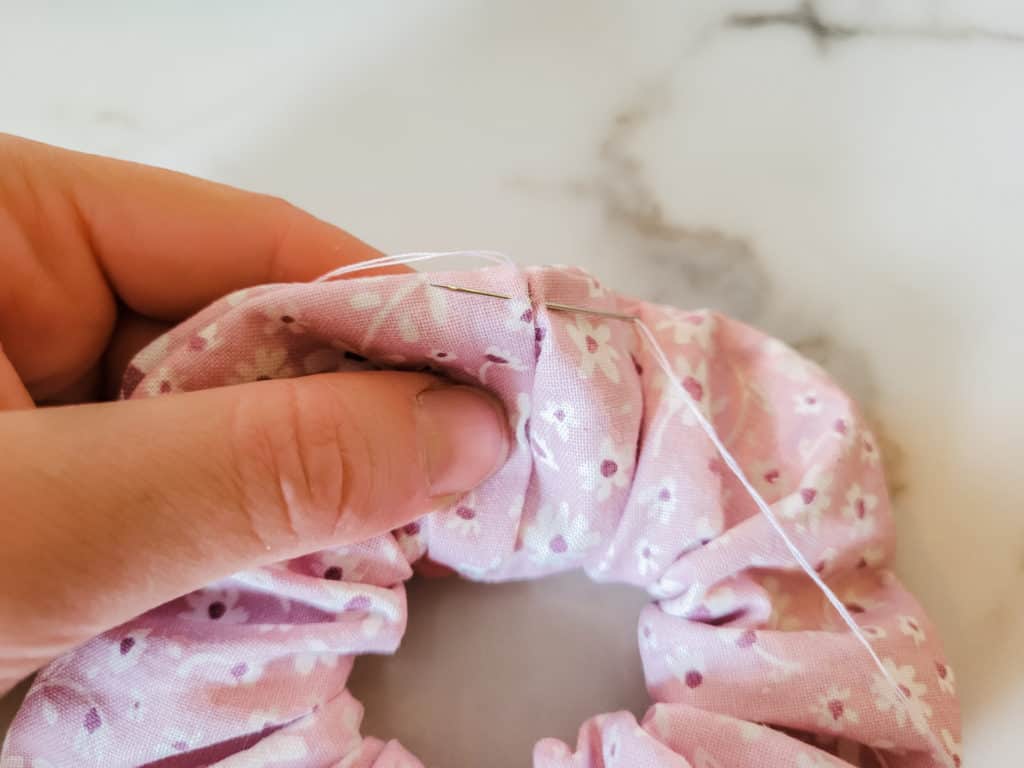
It is easiest to do this part by hand, but you can choose to do a straight stitch with the sewing machine by tucking one edge into the other. The fabrics combined might be too thick for your machine, so be careful.
With the folded openings lined up together at the seam, use a hand stitch around the entire openings to secure them together to finish up your scrunchie.

9. Rock Your Scrunchie!
Now it’s time to wear your scrunchie! I love that they’re cute on your wrist or holding up your hair. Have fun making them in all different colors and fabrics with this easy scrunchie tutorial!

Looking For More DIY?
DIY Reusable Swiffer Mop Pad Pattern
DIY Cloth Pad Pattern (Member’s Library)
Simple Shampoo Bar Recipe No Lye
Body Butter With Tallow & Shea Butter

Join Free Member’s Library
Access free printable wall art & much more when you join the member’s library!
Scrunchie With Hair Tie
With a piece of scrap fabric & a hair tie, you can make your own personal scrunchies at home with this easy tutorial!
Materials
- 20" x 4.5" of fabric (any type)
- Elastic hair tie
Tools
- Needle & Thread (Sewing machine makes it easier)
- Sewing clips or pins
- Scissors
- Measuring tool
Instructions
- Iron fabric so it is wrinkle free
- Cut strip from fabric for scrunchy - For a thicker scrunchy: 20” x 4.5.” For thinner (kid sized): 17” x 3.5”
- Wrap fabric around elastic hair tie with the outer side of fabric facing the hair tie (tip: use a jar to help keep it in place)
- Fold the fabric in half (hot dog style) around the rubber band and secure the edges with clips or pins. Make sure you stretch the edges so they line up perfectly with each other.
- Sew a straight stitch around the edges of the scrunchy (with machine or by hand)
- Flip the scrunchy fabric right-side out by rolling from one edge to the other. Use a long pointy object, like a chopstick or ballpoint pen to help
- Tuck both the edges of both openings into themselves about 1/8th inch for a clean edge
- Use a needle and thread to sew the openings together (you can use your sewing machine instead by tucking one edge into the other, but it might be too thick for your machine)
Notes
- Write additional notesUse any fabric that you have on hand.
- For a scrunchier scrunchy, make the length shorter around 17"-18"
- Sew by hand if you don't have a sewing machine


This is such a great way to make scrunchies! Thanks for the lovely post!
How fun! I have some scrap velvet fabric and I’m going to share this post with my daughter so she can practice her sewing!
Such a cute tutorial will have to try with my daughter!
Thank you for breaking down the steps! The pictures really help! I can’t wait to make one.
I have a little niece that may actually see me as a cool uncle now. It will just take resurrecting my old crafting skills
This is such a cute little DIY project and with your detailed instructions, even perfect for beginners!
It’s so funny, I loved scrunchies as a kid and now my daughter (11 years old) is obsessed with scrunchies. She recently started learning to hand sew so this is a perfect project for her!