Free Printables To Make Your Own DIY Planner Cover (With Steps)
Ring in the new year with a fresh planner! Whether you purchase a planner or want to print your own, these Free Printable DIY Planner Cover designs will help make your planner unique.
This post will give you instructions on how to make your own DIY planner cover as well as free printables for the front & back cover to use. You can find the download button in the middle of this post.
This page contains affiliate links, which means I make a small commission at no extra cost to you. See full disclosure here.
Make Your Own Planner Cover At Home
There are so many resources to use when it comes to planners. Maybe you’ve created your own planner pages that work best for you. Maybe you bought a printable planner from Etsy.
The Happy Planner & Erin Condren Life Planner are also popular choices when it comes to planning.
No matter which planner you choose to use, you can make your own planner covers. Ditch the original cover if it isn’t your style & make your own!
Why stop at one? Switch out every few months to a new cover if you like to change things up!
The good news is that it is inexpensive to make your own cover. Plus, it is super fun to show your own personality through the design you choose!
Why Use A Planner
There are definitely benefits behind planning. Whether you use digital planners or paper planners, it will help you keep your life in order.
The use of a planner also helps relieve stress & improve productivity. Doesn’t that sound great? No stress and also crushing your goals!
There are many uses and types of planners. Some include a to-do list, a grocery list, and hourly schedules. Others are just an empty calendar to keep track of appointments. Some are more specific, such as a traveler’s notebook to plan & document trips with. The options truly are endless when it comes to planner styles.
Once you find the perfect planner style that work for you, you’ll love how easy it makes your life feel. Your life will be organized, you’ll be happier, and planning your future will be so much more fun!

limited time
e-book bundle
Simply Radiant Skin &
The Ultimate Guide to DIY
Sizes
There are so many different sizes when it comes to planners. Some people like a small planner to travel with, while others prefer a full-size to fit in every aspect of their life.
I’ve included all of the sizes in the free download so you can use any size that you want. If you want to make your own Happy Planner cover, create a cover after you print your own pages on standard size paper, or spruce up an Erin Condren planner cover, I have you covered (pun intended!).
The file types for the different sizes are PDF Print. The cover images are high quality for personal printing.
The sizes included for the Free Printable DIY Planner Cover are:
- Standard & The Happy Planner – Big Size (8.5×11)
- The Happy Planner – Classic Size (7×9.25)
- The Happy Planner – Mini Size (4.625×7)
- The Happy Planner – Mini Classic Size (4.125×9.25)
- Erin Condren Life Planner (7×9)
- A5 (148 X 210 MM)
- Half letter (8.5 X 5.5 IN)
- A4 (210 X 297 MM)
You can find the download button for 3 planner cover designs in the middle of this post.
Or, if you’re looking for more options, join my Member’s Library email list and immediately access 25 different planner cover designs in the Member’s Library.

DIY Make Your Own Planner Cover Instructions
Making your own planner cover is easier than it seems. You just need a few tools & you can make your own planner cover for very little cost.
Tools Needed
Just like many of my DIY projects, you can make this as simple or as professional as you choose. The tools I suggest having on hand are as follows:
- Cardstock Paper (for your printed cover)
- Self-Adhesive Laminating Sheets or Thermal Laminator Machine (With Laminating Pouch)
- Paper Corner Rounder Punch (optional)
- Scissors or Paper Cutter
- Single Hole Punch or Happy Planner Punch (For The Happy Planner)
Other tools you might want:
- Scrapbook paper (like this cute watercolor paper)– to use for the inner covers of your planner
- Double Sided Tape Runner – if you need to stick scrapbook paper onto back side of covers
- Washi Tape – a cute way to decorate your DIY planner cover
- Planner stickers-to make your cover and planner pages even cuter
- Any other free images to cut out and glue to you cover
1. Choose Your Free Printable Planner Cover
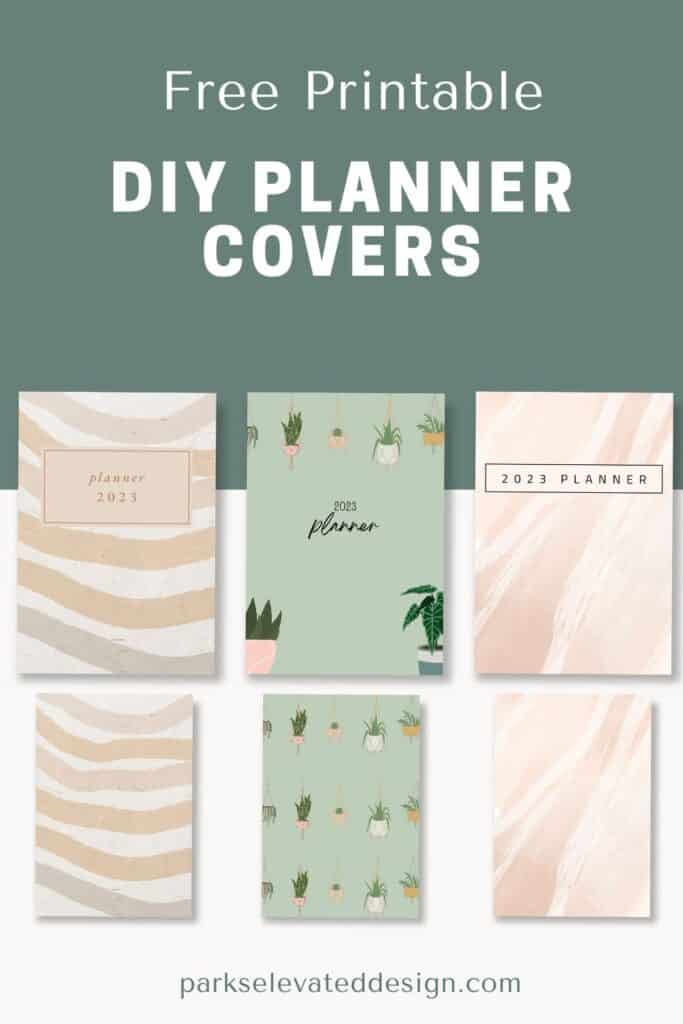
First, you’ll want to choose your planner cover. Below is a download for three free printable planner cover designs (front & back).

Want More Options?
If you’re looking for more options, join my free Member’s Library email list and access 25 different planner cover printables in the Member’s Library for free. Here are some of the options below.

2. Print Planner Cover
After you know which cover you want to use, print it off on a piece of cardstock paper. (Don’t forget to print the back cover too!)
If your printer does not allow for you to print on thick paper, no worries. Just print on regular paper, and then glue the printed sheet to a piece of cardstock.
If you want to add an inside cover design, now is the time to glue it to the backside of both covers. Tip: Use paper clips for lining the pieces together before you add your glue.
Make sure to trim down your cardstock paper if needed to the correct planner dimensions. Using a paper cutter for a straight line is the easiest way.
3. Round Corners
If you want your planner cover to have rounded corners, now is the time to do it. Use the Paper Corner Rounder Punch to round your corners, or use a pair of scissors and make your own rounded corners with a small cut on each one. For the best results, create a guide so they all match.
This step is totally optional, you can choose to leave your corners pointed.
4. Laminate
Now it is time to laminate your planner covers. Having a laminate cover is ideal because it will keep your planner sturdy & protected.
If you don’t have a laminator machine, these self-adhesive sheets work great!
Make sure to place your covers into the sheets evenly and press down so there are no air bubbles.
5. Trim
After you laminate your front & back cover, you can trim off excess lamination. You might also want to trim your corners to be rounded to match your cover shape.
6. Hole Punch
Now it is time to hole punch your covers. This will look different based on which planner you are using.
If you’re using free printable Happy Planner covers, then you can use the Happy Planner Hole Punch designed to match up with the binding on the Happy Planners.
If you’re working with another planner, then you can use a single hole punch to match up the holes. Use the old cover as a guide to mark the holes onto your new cover. Then, use a small hole punch to punch holes that are the same spacing onto your new cover.
Make sure you are punching holes on the right sides of each cover. The front cover should have holes punch along the left side. The back of the planner cover should have holes punched along the right side.
7. Attach New Cover To Planner
Now your DIY Planner Cover is ready to use! Attach it to your new planner and enjoy your new beautiful cover!
If you learn best by video tutorial, I thought this video by Budget With Becca was really helpful.
Enjoy Planning
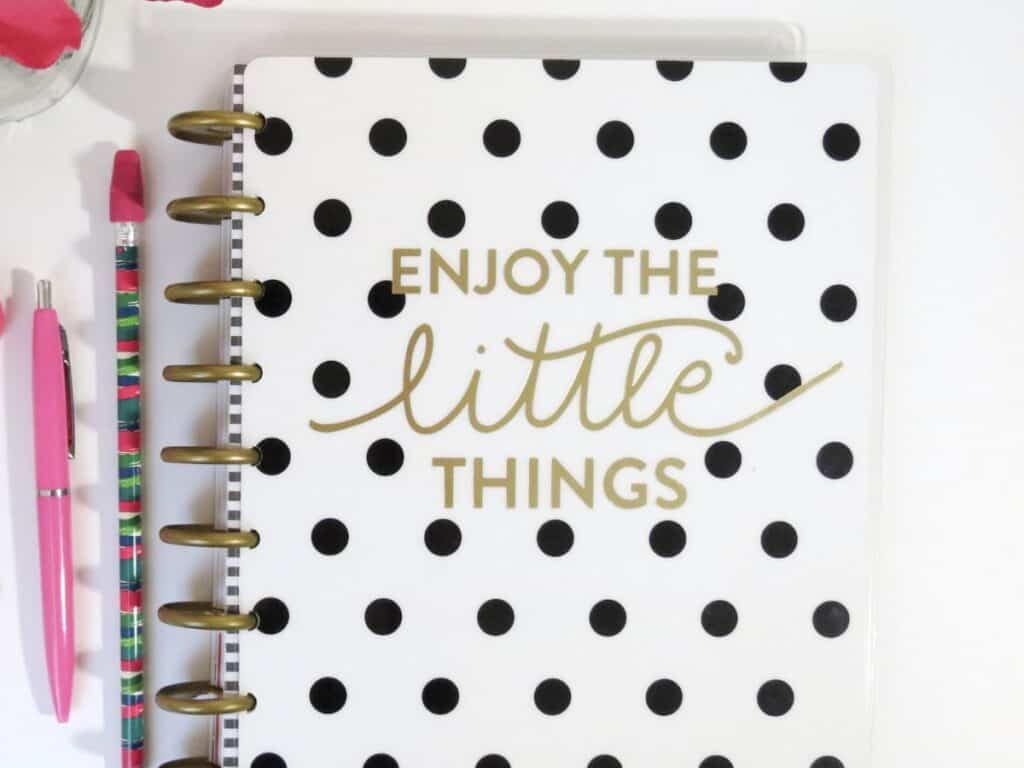
The best part about the new year is starting a fresh planner. Make the planner your own style by using a custom cover.
I love that some planners can have interchangeable covers. I can switch between the original planner cover & my own DIY Planner Cover whenever I want to. It really makes planning that much more fun!
Looking For More?
Free Printable Hot Chocolate Mix Label (With Recipe)
Free Printable Laundry Signs & Labels
Mini E-Book: 8 Simple DIY Bath & Beauty Recipe
DIY Reusable Swiffer Mop Pad Pattern
Scrunchie Tutorial With Hair Tie

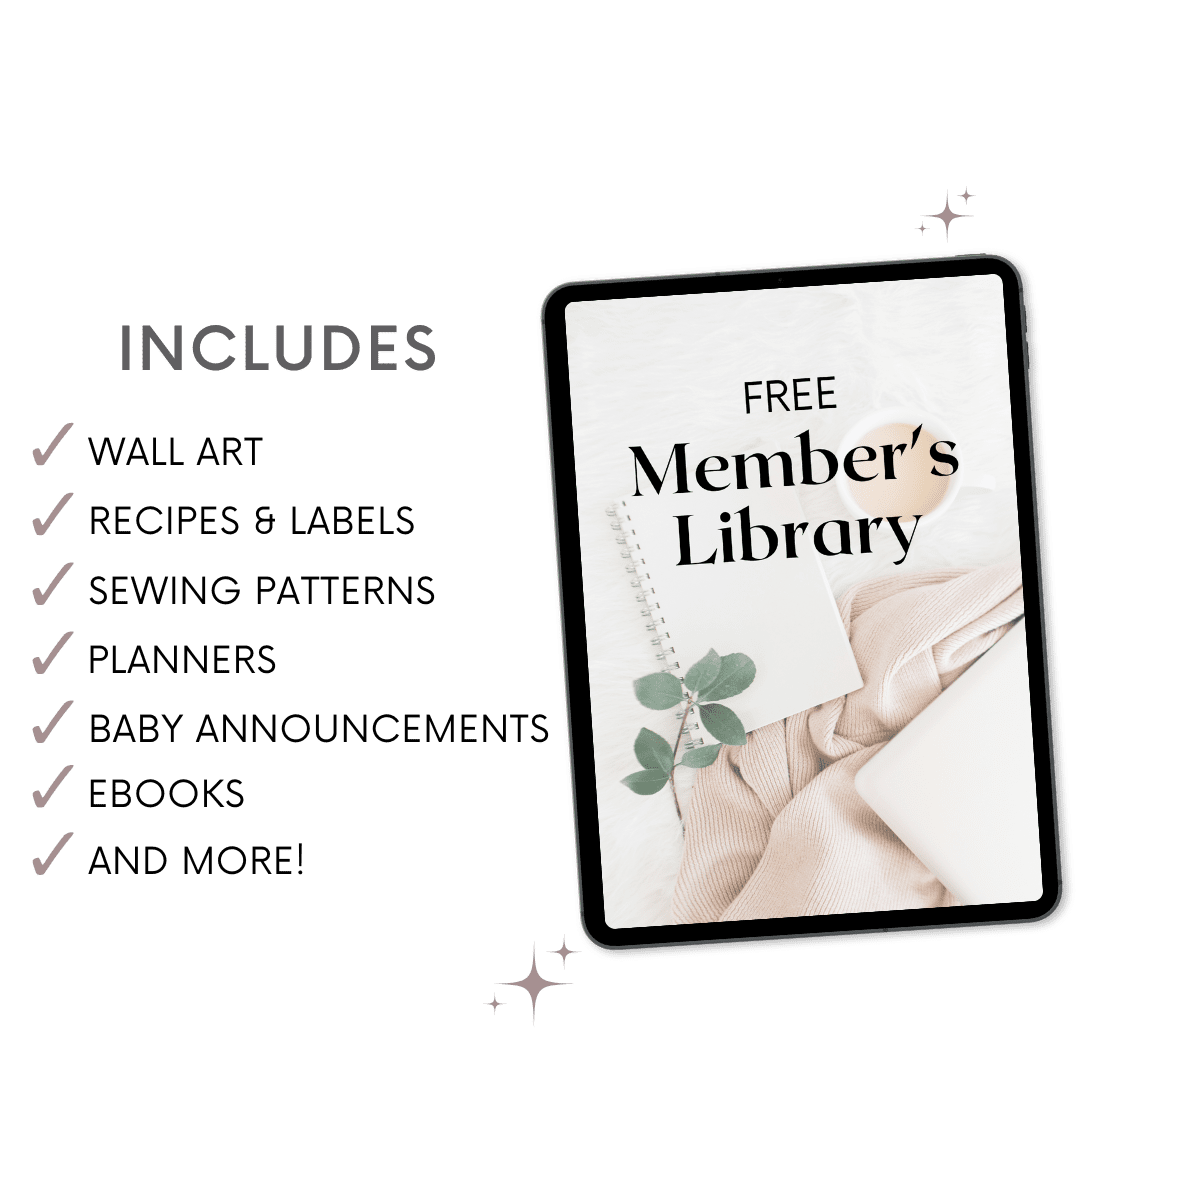
Join Free Member’s Library
Access free printable wall art & much more when you join the member’s library!
I do love the idea of having a physical planner as the shared virtual ones we have in our phones often don’t sync so my wife and I end up not knowing regardless each others plans are but also think we’ve shared. Having an attractive physical one would possibly fix that. I keep forgetting about laminate sheets to replace having to go get things professionally laminated. Very clear step by step process
I am a pen and paper kind of gal so I always use a physical planner (rather than digital). But I always buy the cheapo ones with a plain cover, so I love this idea of sprucing up the cover with my own design! What a neat idea! Im glad you included a video tutorial on how to attach it, I will probably need that, ha!
I love a planner. These covers are really cute!!
Oh, I love these! What a great way to start the new year and have something tangible to keep us on track throughout the year and many tasks ahead!
These are so stinking cute! Thank you for sharing your art for free!! I too love a good paper and pen planner.